How to Set Up and Administer a Release
Please note: This feature will need to be activated by your Brandscope Account Manager.
Release Details Tab
1. Setup > releases > click blue + icon > select brand
2. Enter release name
3. 💡 Tip: If you only want this release to be visible to your sales team and not to retailers, you can turn off the "visible to retailers" toggle.
4. 📝 Note: A release will always be created in draft mode. This will allow for a release to be deleted in case of a bad DLS upload.
5. Exclude products from Quickfill if needed

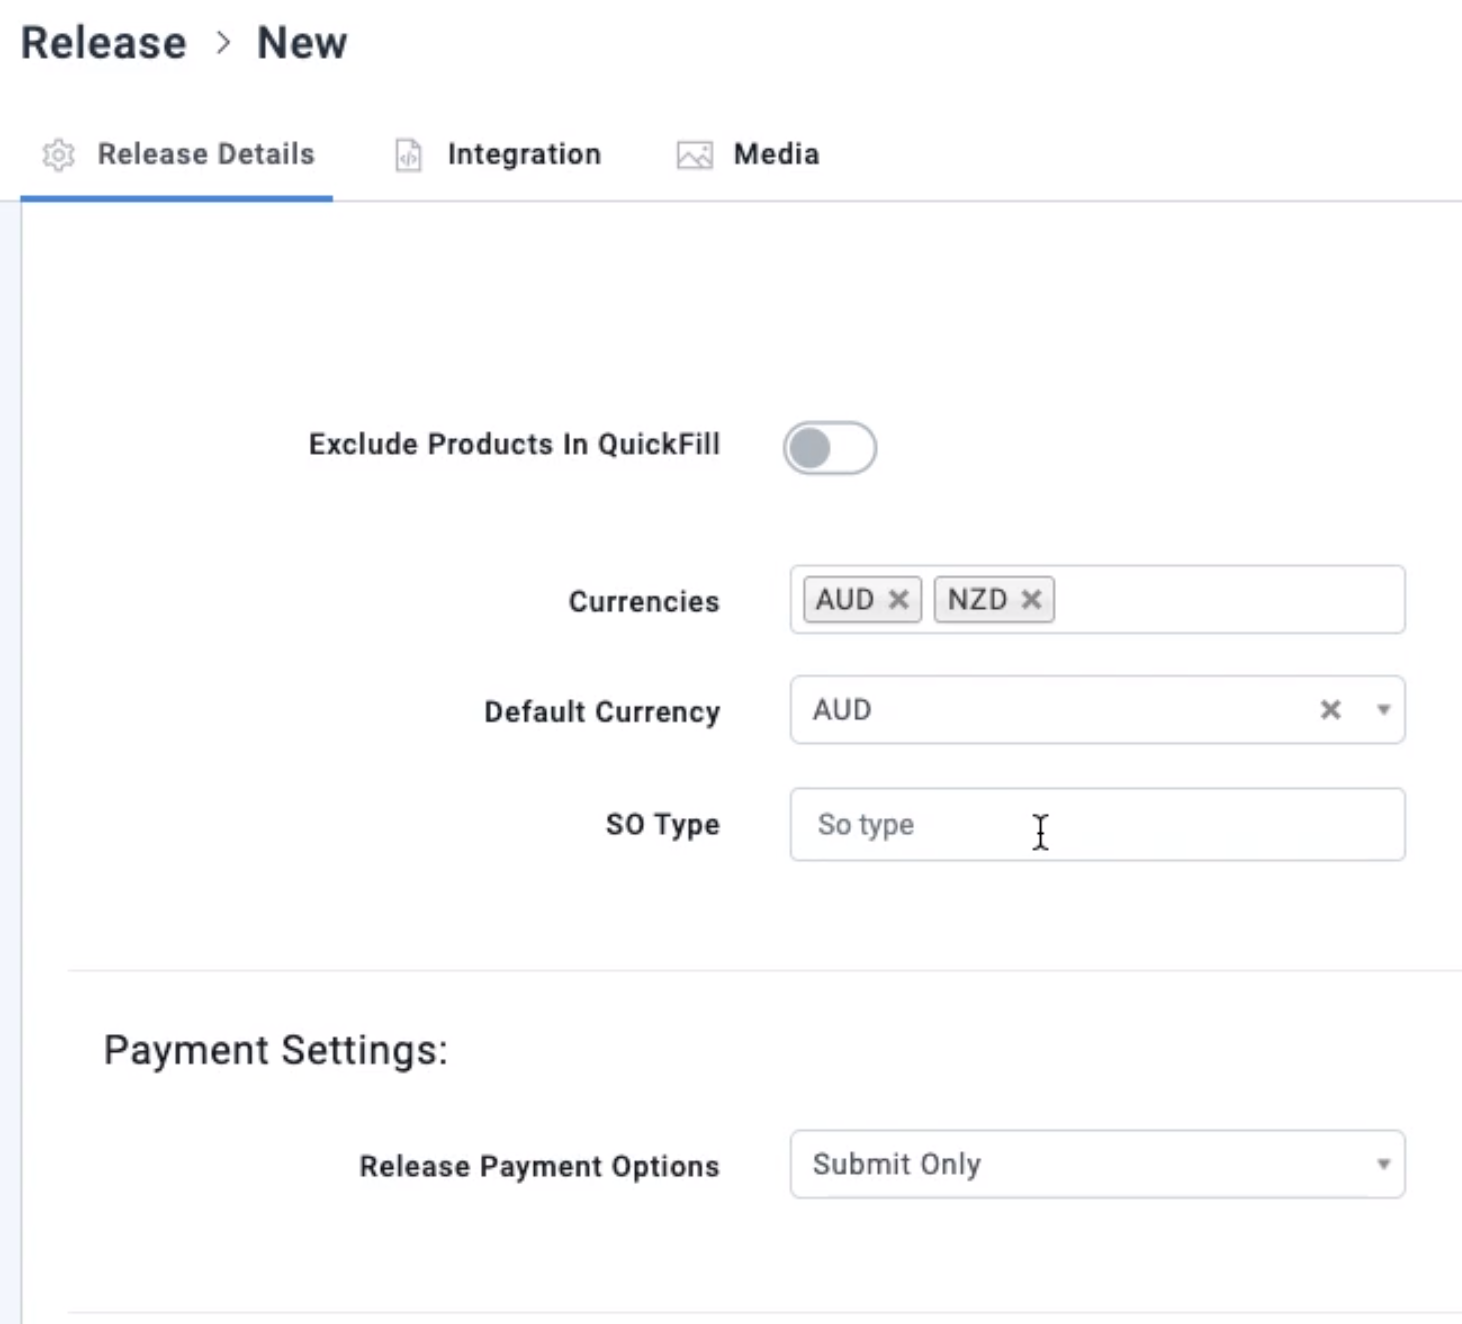
6. Select relevant currencies for this release
7. Select default currency
8. Enter SO Type, if required for your integration or leave blank
9. If using payment gateway, select relevant payment options
10. Select relevant delivery months
11. Select start and end date
12. If it's an indent release, you can select a deadline
⚠️ Caution: A deadline does not take a release offline, it is merely a guide for retailers
13. You can setup auto-extend on your release
13.1. Enter the number of months you'd like to add on to your release
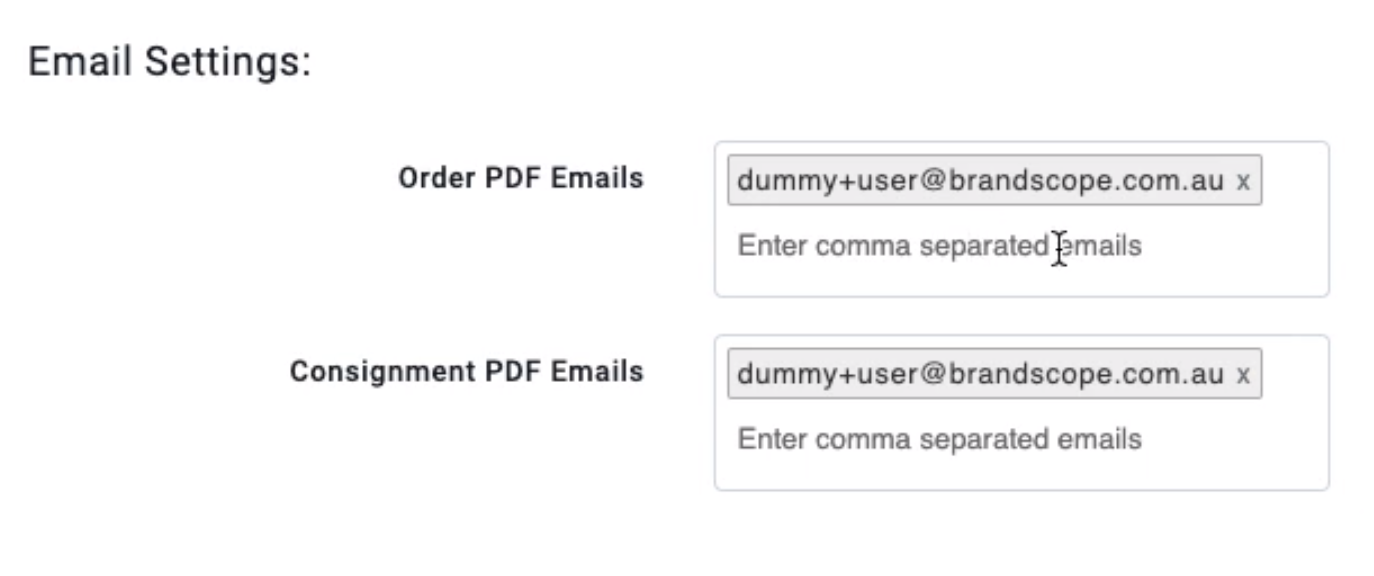
13.2. You can enter email addresses to be notified of release extensions

Integration Tab
1. Select integration tab > scroll to top
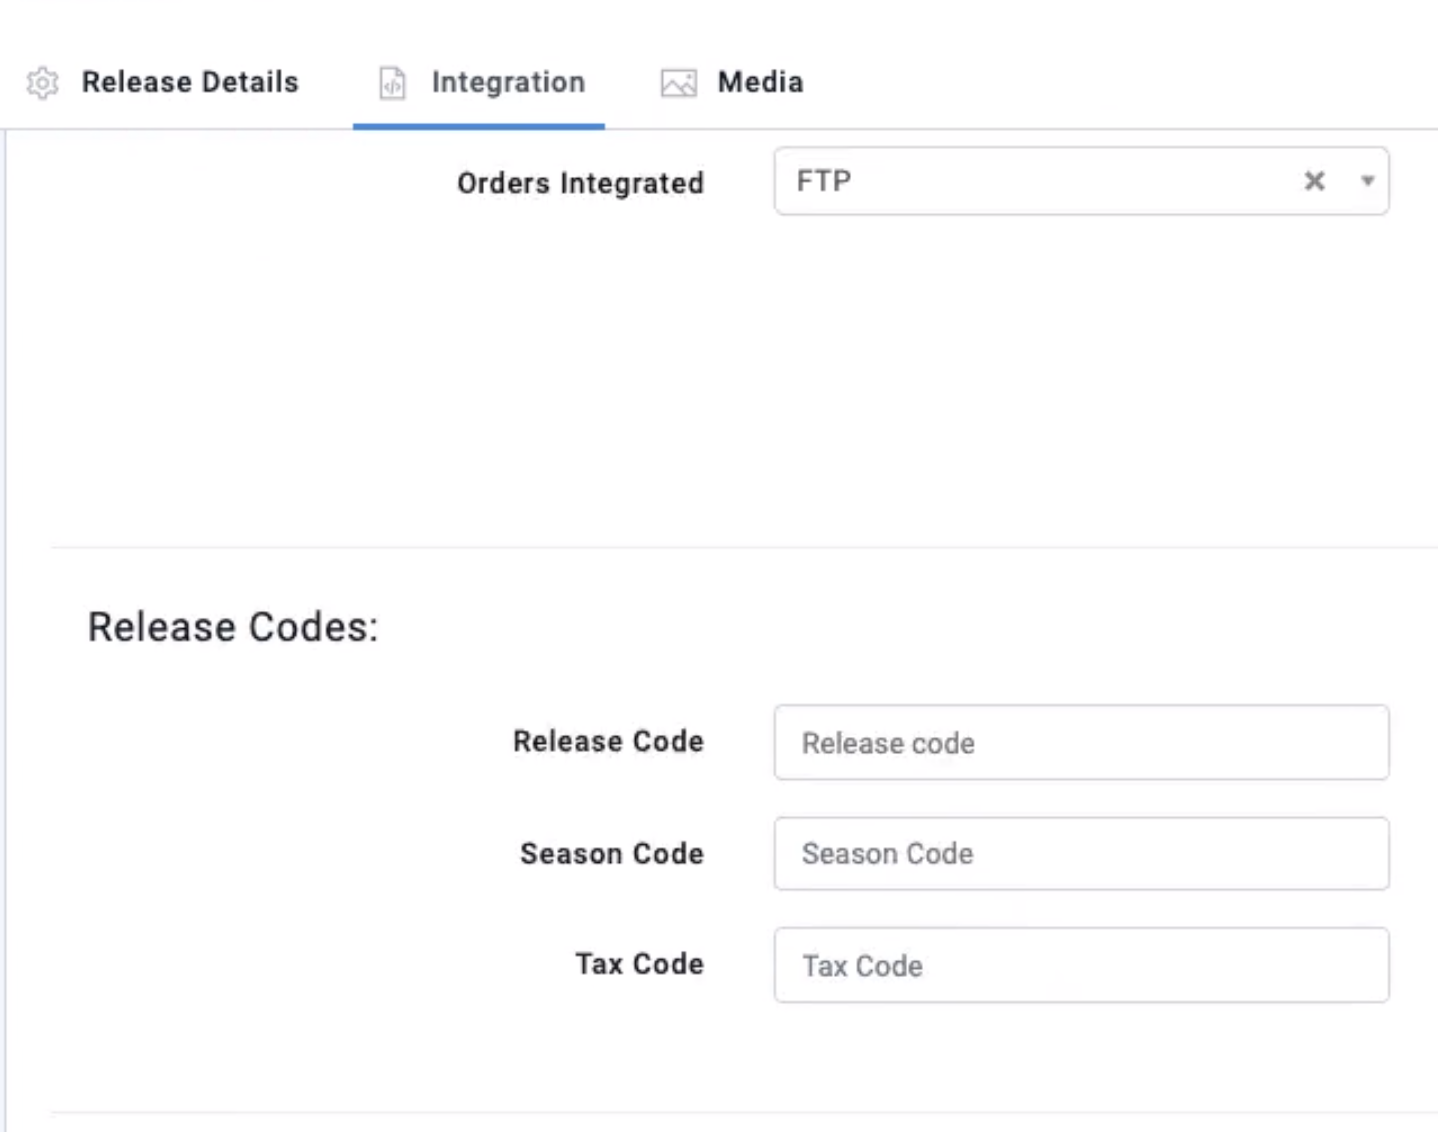
2. The orders integrated area is already filled
3. Enter release code, season code or tax code if required by your integration
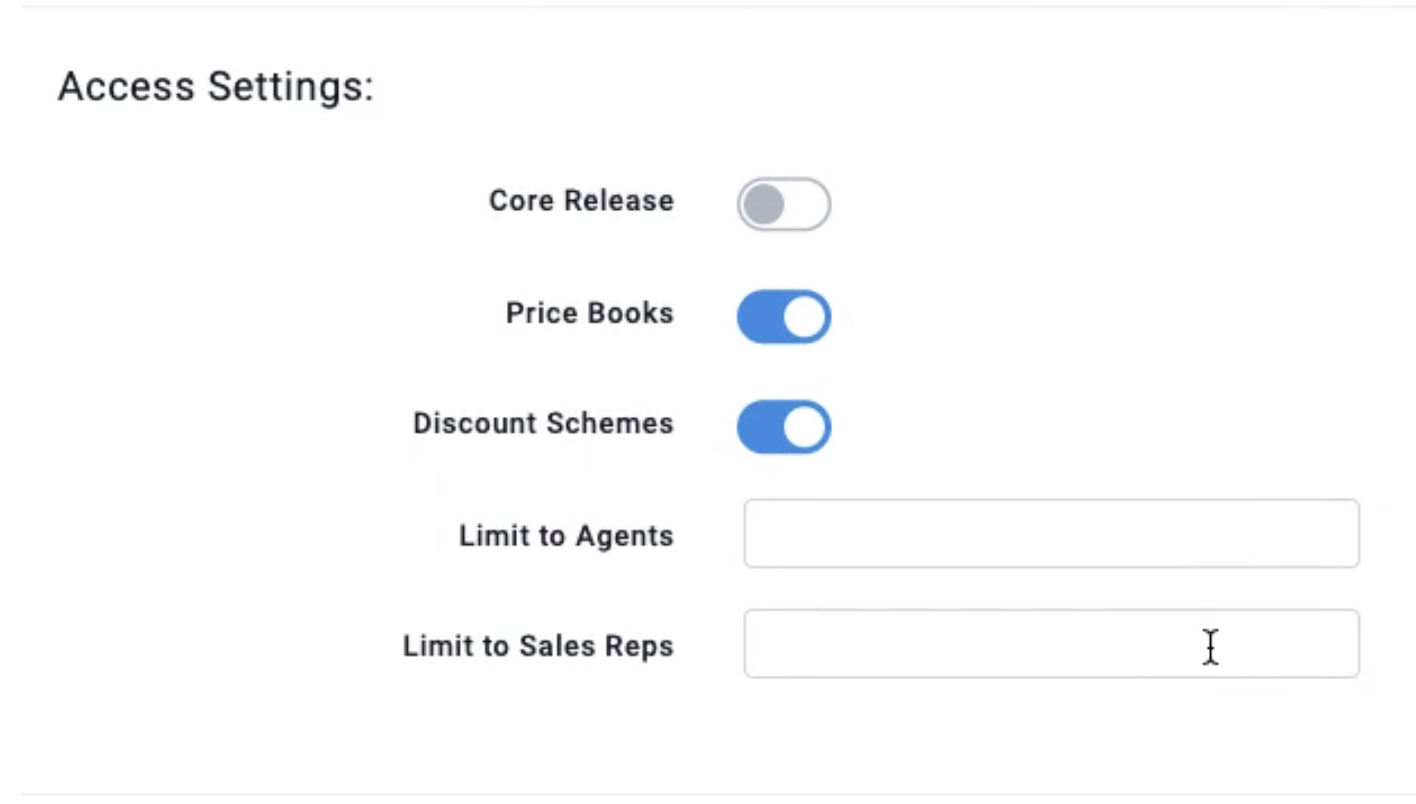
4. If you want your release to be pinned as the first release on your releases grid, you can turn on the core release toggle under Access Settings
5. Turn on price books and discounts, if necessary
6. Add which sales reps and agents should have access to this release. If all sales team members should have access, leave fields blank.
📝 Note: Sales reps and agents who's email addresses are added to the "limit to agent" or "limit to sales reps" fields will only see releases that they are assigned to.
Media Tab
1. Select Media tab
2. Release Image: You can upload the release banner image here
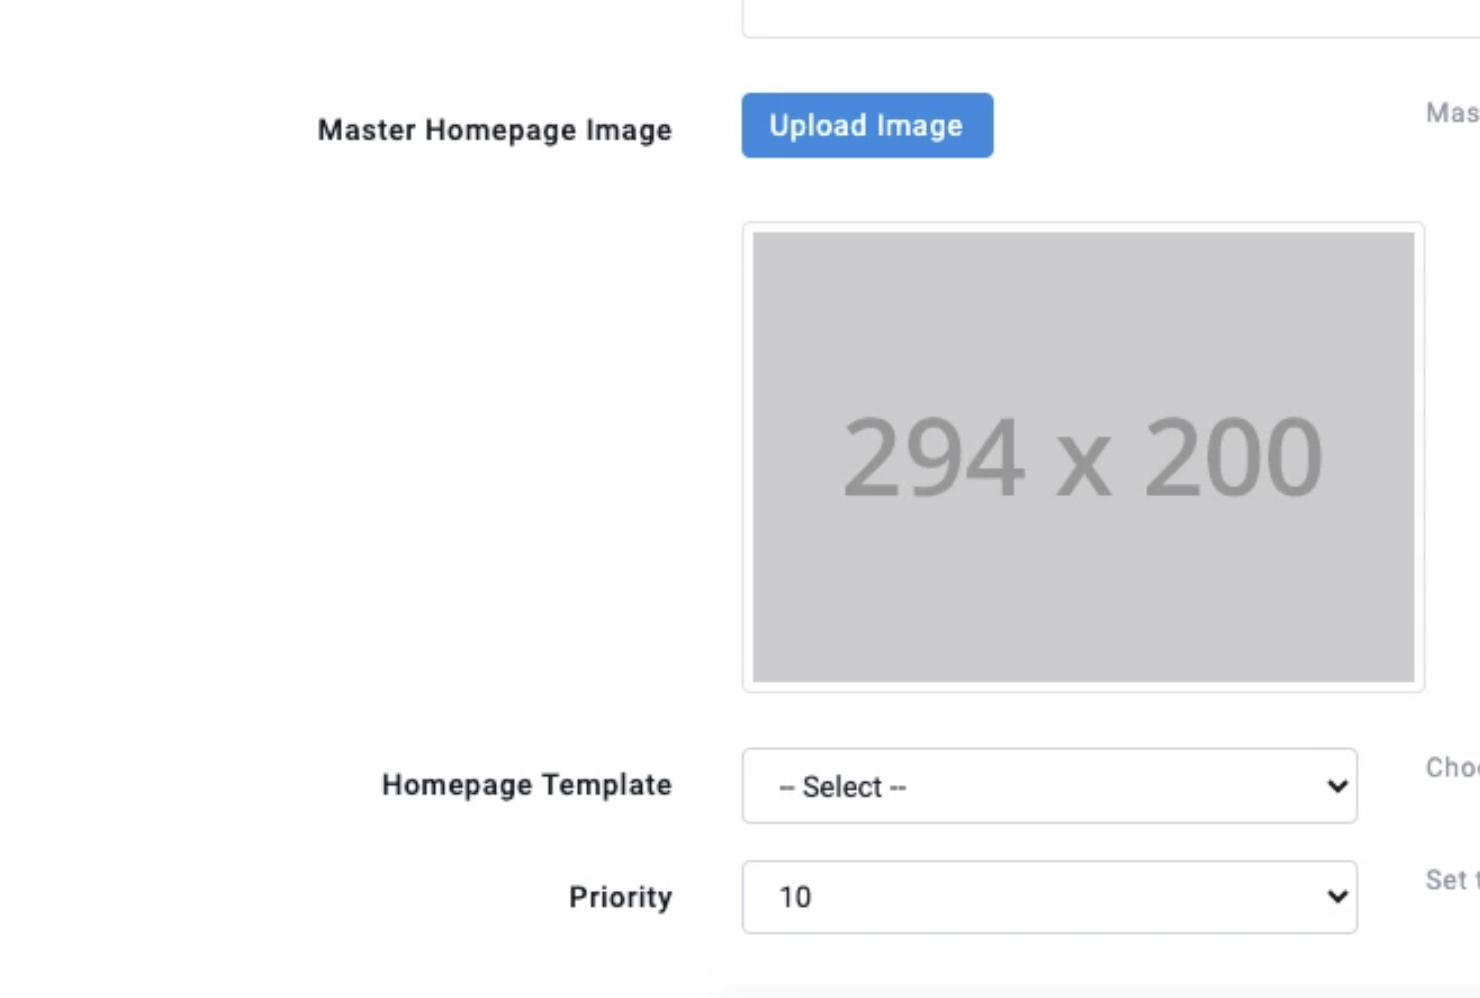
3. Master Homepage Image: If you use a master homepage, you can upload a banner image here > choose the homepage template the image links to > set the order in which the image will appear in on the homepage.
4. Save
Brandscope will let you know once your release has been created.
Taking a release out of draft mode
❗ Attention: Make sure all the details of the release are correct before switching it live. Assistance from IT to fix Supplier errors will result in additional costs.
1. Once you've loaded and reviewed your DLS, select your release in the release grid > 🔏edit icon in the top right hand corner
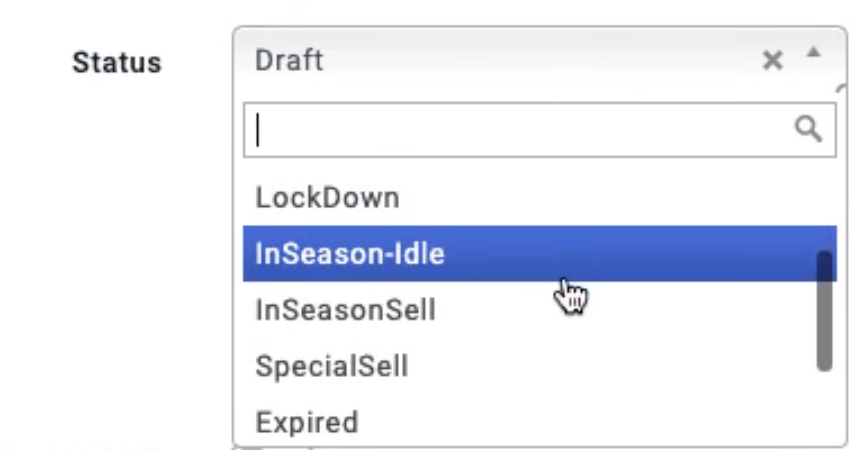
2. Status field > select relevant release status
3. Save
Your release has been updated.